Wainscot on walls is a greco-roman design element that has been used for centuries to add elegance and sophistication to interior spaces. This cosmetic impanel, typically made of wood or other materials, is installed on the lower parcel of walls, creating a visually appeal contrast with the speed wall surface. Whether you're train for a traditional, countryfied, or modernistic aesthetic, wainscot on walls can transmute any room into a stylish and tempt space.
Understanding Wainscot on Walls
Wainscot on walls refers to the decorative paneling that covers the lower part of a wall, unremarkably up to a height of about three to four feet. This paneling can be made from diverse materials, include wood, MDF (Medium Density Fiberboard), PVC, or even wallpaper. The master purpose of wainscot is to protect the wall from damage, such as scuffs and scratches, while also enhancing the room's overall artistic.
Wainscot on walls comes in different styles and designs, each offering a unequaled appear and feel. Some democratic styles include:
- Raised Panel Wainscot: Features panels with a raise center, impart depth and texture to the wall.
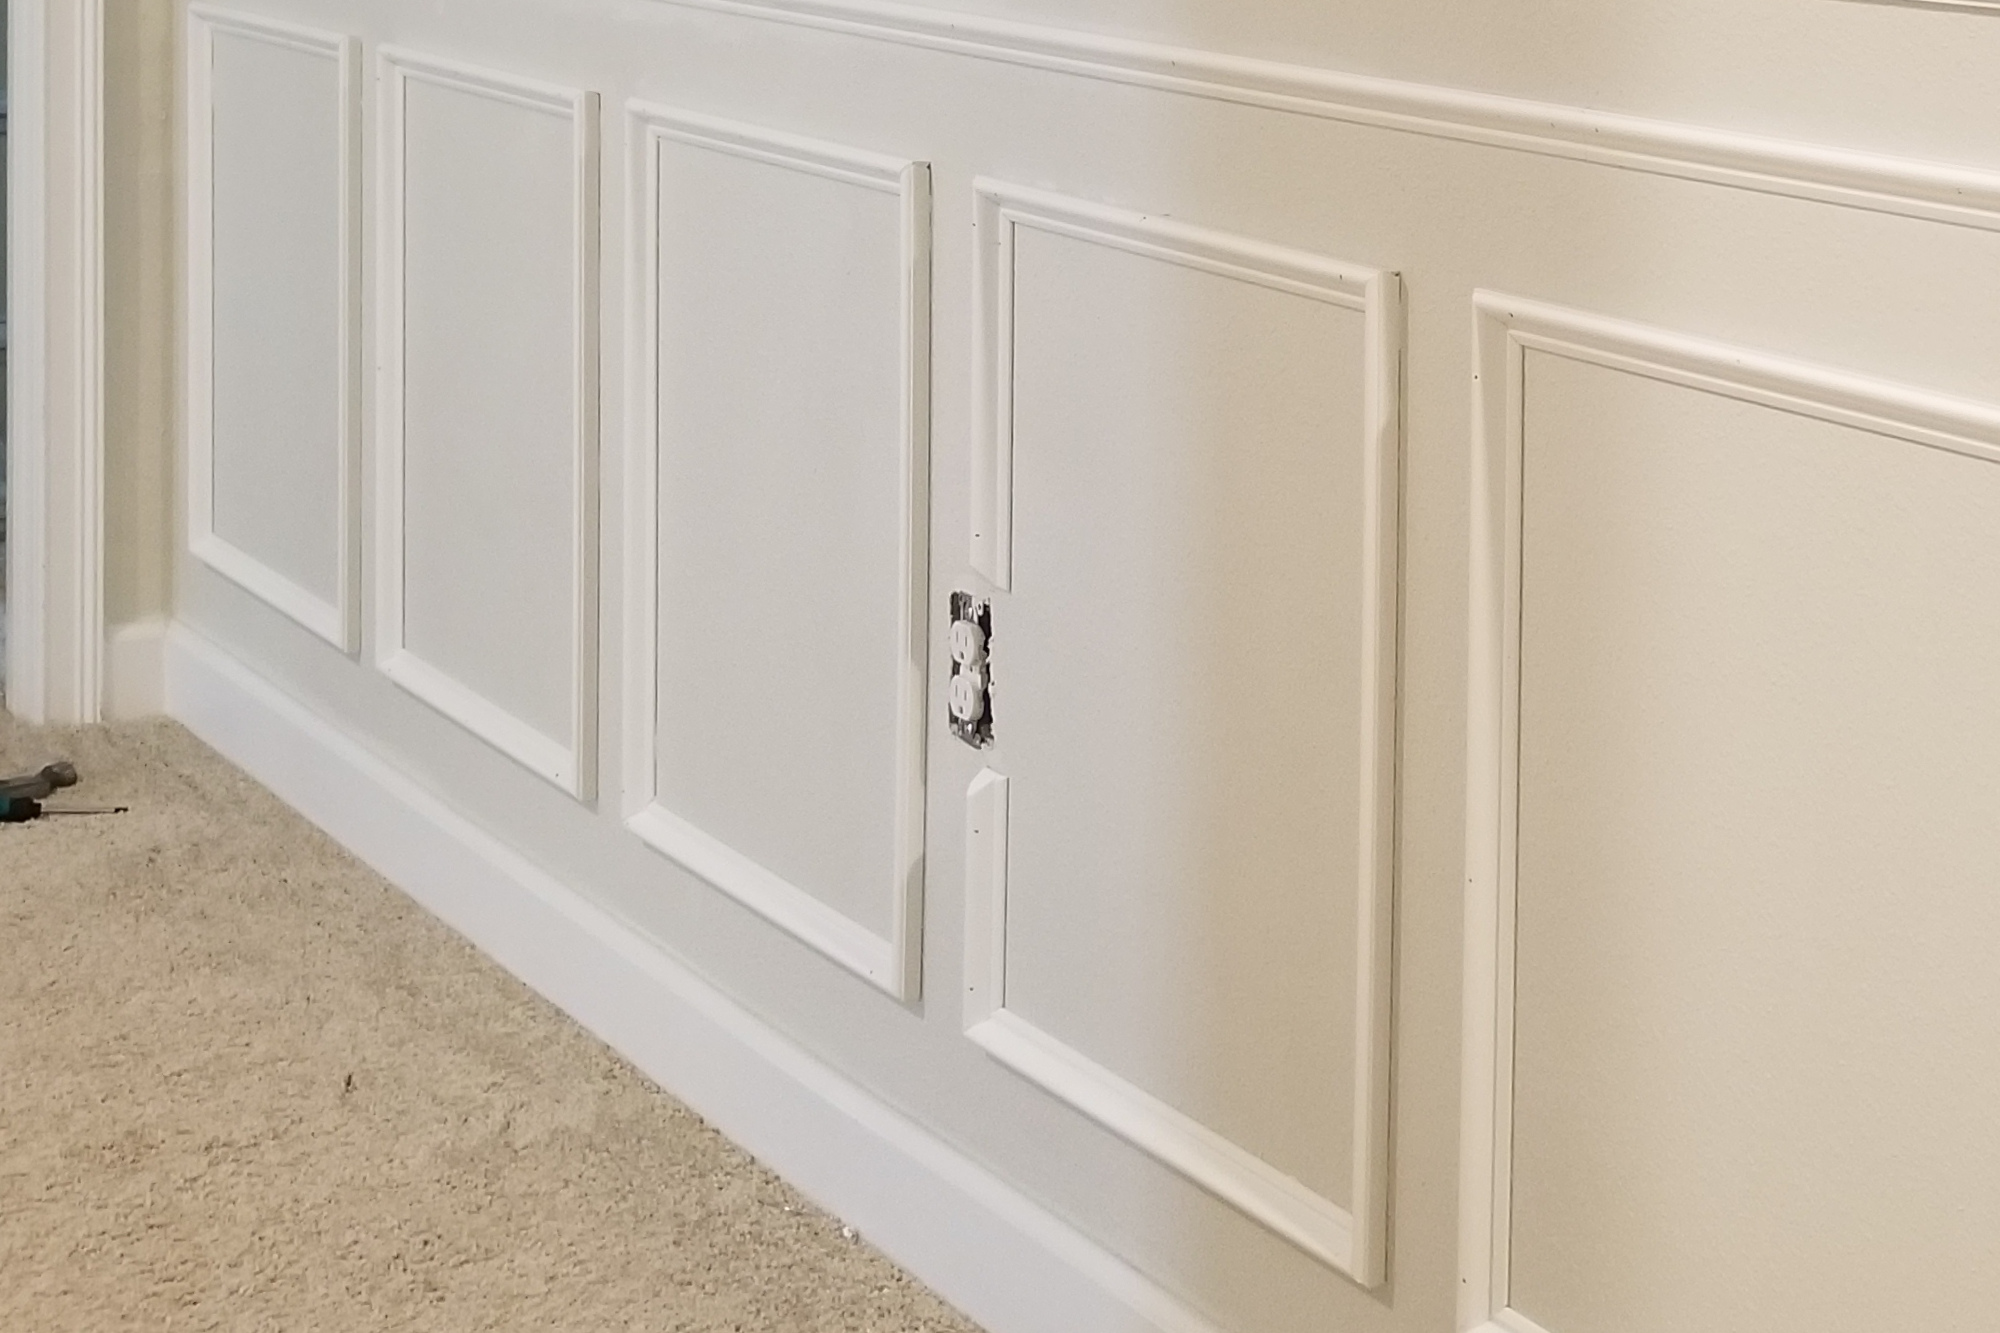
- Flat Panel Wainscot: Has a smooth, flat surface, providing a clean and mod look.
- Beadboard Wainscot: Consists of narrow, vertical planks with a rut design, creating a rustic and charming appearance.
- Shiplap Wainscot: Similar to beadboard but with overlapping planks, offering a more modern-day feel.
Benefits of Installing Wainscot on Walls
Installing wainscot on walls offers legion benefits, making it a democratic choice for homeowners and designers alike. Some of the key advantages include:
- Durability: Wainscot protects the lower part of the wall from damage, create it idealistic for eminent traffic areas and homes with children or pets.
- Aesthetic Appeal: Adds a touch of elegance and sophism to any room, enhancing the overall inside design.
- Versatility: Available in various materials, styles, and finishes, allow you to customize the look to suit your preferences.
- Easy Maintenance: Wainscot is easy to clean and maintain, expect only episodic dust or wipe with a damp cloth.
- Increased Home Value: Adding wainscot on walls can increase the value of your home, do it a worthwhile investment.
Choosing the Right Material for Wainscot on Walls
Selecting the right material for your wainscot on walls is crucial for achieve the desired seem and guarantee strength. Here are some democratic materials to see:
- Wood: Offers a natural, warm, and dateless appeal. Common wood types include oak, cherry, and pine.
- MDF (Medium Density Fiberboard): A cost effectual alternative to wood, providing a smooth surface that can be paint or stained.
- PVC: Durable, wet resistant, and easy to clean, create it ideal for high humidity areas like bathrooms and kitchens.
- Wallpaper: A budget friendly option that comes in a variety of patterns and colors, countenance for easy customization.
Installing Wainscot on Walls: A Step by Step Guide
Installing wainscot on walls can be a DIY project with the right tools and materials. Here's a step by step guidebook to help you through the operation:
Materials Needed
- Wainscot panels
- Adhesive or nails
- Level
- Tape mensurate
- Saw (if sheer panels)
- Caulk and caulk gun
- Paint or stain (optional)
- Paintbrush or roller (optional)
Steps to Install Wainscot on Walls
- Measure and Plan: Measure the height and width of the wall where you plan to install the wainscot. Determine the act of panels needed and mark the height of the wainscot on the wall.
- Prepare the Wall: Clean the wall surface and assure it is gratis of debris. If necessary, apply a fuse to assist the adhesive bond wagerer.
- Install the First Panel: Apply adhesive to the back of the first panel and press it firmly against the wall, starting from the nook. Use a level to ensure it is straight.
- Add Additional Panels: Continue supply panels, secure they are level and array with the previous panel. Use adhesive or nails to secure each panel in place.
- Cut Panels as Needed: If you need to cut panels to fit around corners or doors, use a saw to make precise cuts.
- Finish the Edges: Apply caulk to the edges of the wainscot to create a unlined finish. Allow the caulk to dry allot to the manufacturer's instructions.
- Paint or Stain (Optional): If desired, paint or stain the wainscot to match your room's decor. Allow the paint or stain to dry completely before utilize a second coat if necessary.
Note: Always wear safety gear, such as gloves and goggles, when using ability tools and adhesives.
Design Ideas for Wainscot on Walls
Wainscot on walls offers eternal design possibilities, allow you to make a alone and personalized seem for your space. Here are some design ideas to inspire you:
Traditional Elegance
For a classic and elegant seem, opt for raise panel wainscot in a rich wood finish. Pair it with impersonal distort walls and traditional furniture to make a timeless and sophisticate space.
Rustic Charm
Beadboard wainscot is perfect for achieving a unsophisticated and cozy atmosphere. Combine it with warm, earthy tones and natural textures, such as wood and stone, to enhance the hick charm.
Modern Minimalism
Flat panel wainscot in a sleek, modern finish can add a touch of contemporary style to your space. Pair it with clean lines, minimum decor, and a impersonal colouration palette for a modern minimalist seem.
Coastal Vibes
Shiplap wainscot is idealistic for creating a coastal instigate space. Use light colorise paint or stain and pair it with maritime decor, such as anchors and seashells, to bring the beach vibes indoors.
Maintaining Wainscot on Walls
Maintaining wainscot on walls is comparatively easy, requiring only occasional clean and upkeep. Here are some tips to proceed your wainscot appear its best:
- Regular Dusting: Dust the wainscot regularly to remove dirt and debris. Use a soft cloth or dustcloth to avoid chafe the surface.
- Wiping with a Damp Cloth: For tougher stains, wipe the wainscot with a damp cloth and mild soap. Avoid using harsh chemicals that can damage the finish.
- Touching Up Paint or Stain: If the wainscot becomes scratched or faded, touch up the paint or stain as needed to maintain its appearance.
- Inspecting for Damage: Regularly inspect the wainscot for any signs of damage, such as cracks or warping, and address them promptly to prevent further issues.
Wainscot on walls is a versatile and stylish increase to any interior space. Whether you're aiming for a traditional, unsophisticated, or modern look, wainscot can heighten the esthetic appeal of your room while providing durability and security. By choosing the right material, following proper installing techniques, and maintaining your wainscot, you can enjoy a beautiful and long lasting design element that adds value to your home.
Wainscot on walls is a timeless design element that continues to be democratic due to its versatility and aesthetic appeal. Whether you re renovating an old home or designing a new one, incorporating wainscot on walls can advance the look and feel of your space. From traditional raise panel designs to modern flat panels, there are legion styles and materials to prefer from, allow you to create a unique and personalized seem. By realize the benefits, choosing the right material, and following proper initiation and alimony techniques, you can enjoy the beauty and durability of wainscot on walls for years to come.
Related Terms:
- wainscot wall panel
- wainscot mean
- typical wainscot height
- wainscot definition
- examples of wainscoting on walls
- wainscot wall detail